Installing a hardwired EV charger pedestal is one of the most durable and aesthetically clean solutions for permanent EV charger installations in both residential and commercial settings.
This method offers flexibility for charging stations in locations where wall mounting or the installation of NEMA outlets is impractical, such as driveways, parking lots, and other outdoor areas.
It ensures a secure, professional setup that is built to withstand the elements while maintaining a sleek, organized appearance.
Table of Contents
- What Is a Hardwired EV Charger?
- What Is an EV Charger Pedestal?
- Hardwired EV Charger Pedestal Installation
- Pre-Installation Planning
- Tools & Materials Needed
- Hardwired EV Charger Pedestal Installation
- Installing the EV Charger Branch Circuit from the Panel to the Pedestal
- Running Wire from the Panel to the Pedestal
- Connecting to a Dedicated Circuit Breaker (240V, 40A–60A Depending on Unit)
- Mounting the EV Charger to the Pedestal
- Wiring Inside the Charger Enclosure (L1, L2, Ground)
- Securing Connections and Performing Continuity Tests
- Weatherproofing the hardwired EV Charger Pedestal
- Final Setup and Inspection
- Hardwired EV Charger Pedestal Installation Maintenance Tips
- Conclusion
What Is a Hardwired EV Charger?
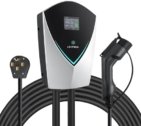
A hardwired EV charger is a high-powered unit (typically 40–80 amps) that is permanently connected to your electrical panel using dedicated wiring, rather than plugging into a standard wall outlet.
Unlike plug-in EV chargers, hardwired EV chargers do not use a plug or receptacle. Instead, the wiring runs directly from the electrical panel to the hardwired EV charger terminal block through a conduit, minimizing the risk of electrical issues, such as voltage drops, that can arise from loose or degraded connections.
Hardwired EV chargers are ideal for installation on EV charger pedestals, particularly in outdoor, permanent installations where adding a NEMA outlet is not feasible.
Some of the hardwired EV chargers we recommend for installations in EV charger pedestals include:
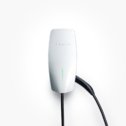
Tesla Universal Wall Connector Review Best Overall

Tesla Gen 3 Wall Connector Review
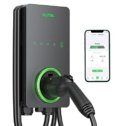
Autel Home Smart Electric Vehicle (EV) Charger Review
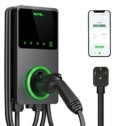
Autel AC Elite In-Body Holster EV Charger Review
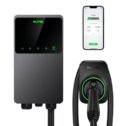
Autel AC Elite Separate Holster EV Charger Review
Lectron V-Box 48 EV Charger Review
These hardwired EV chargers are some of the top home EV chargers that we recommend, since they are top EV chargers, and are the top-selling EV chargers in the market, it is easier to find EV charging accessories for them such as branded EV charger pedestals that are specifically made for the EV charger for easier compatibility and installation.
Why Choose Hardwired Over Plug-In?
We recommend hardwiring EV chargers into pedestals over plug-in EV charger pedestal installation – especially for outdoor use—for the following key reasons:
Security & Tamper-Resistance
A plug-in charger can be easily unplugged, removed, or even stolen from a public or semi-public location. Hardwiring the charger directly to the pedestal eliminates this vulnerability.
Weather Protection & Code Compliance
Plug-in outlets outdoors require heavy-duty weatherproof covers, which are not always foolproof. Hardwired installations offer superior sealing and protection, meeting most local electrical codes for outdoor use.
Professional & Permanent Setup
A hardwired charger on a pedestal looks more intentional and permanent—ideal for home, fleet, or commercial installations where aesthetics and reliability matter.
Vulnerability to Theft or Tampering
Plug-in EV chargers using NEMA outlets are more susceptible to theft or tampering compared to hardwired chargers. Since NEMA outlets are designed to be easily plugged in and unplugged, they can be quickly disconnected or stolen. This makes outdoor installations particularly vulnerable, as the outlets and attached charging cables can be targeted by thieves or vandals. The exposed nature of NEMA outlets also means they are at risk of accidental damage, whether from weather, vehicles, or environmental factors.
In contrast, hardwired EV chargers are securely connected to the electrical system through permanent wiring and are not reliant on a plug connection. This makes them far less vulnerable to theft, as there are no easily accessible connections for removal. Hardwired units also provide a more secure installation, ensuring that both the charger and its wiring are protected and less prone to tampering.
Connection Reliability: NEMA Outlet vs. Hardwired
The connection of a NEMA outlet can be less reliable compared to direct hardwired connections within the circuit. NEMA outlets, particularly those used for outdoor EV chargers, are subject to environmental factors such as moisture, dirt, or extreme temperatures, which can cause corrosion or degradation of the electrical contacts. Over time, these connections can become loose or worn, leading to poor conductivity and charging inefficiency.
On the other hand, hardwired connections within the circuit are more reliable for long-term use. The wiring is typically enclosed in conduit and permanently connected to both the EV charger and the electrical panel, offering a more secure and stable electrical connection. Hardwiring eliminates the risk of loose or corroded plugs, improving the overall safety, efficiency, and performance of the EV charging system. Moreover, hardwired chargers are less prone to environmental wear since the connections are shielded and protected by the conduit.
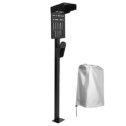
What Is an EV Charger Pedestal?
An EV charger pedestal is a vertical mounting structure designed to securely hold an electric vehicle charger in outdoor or standalone environments—especially where wall mounting isn’t practical.
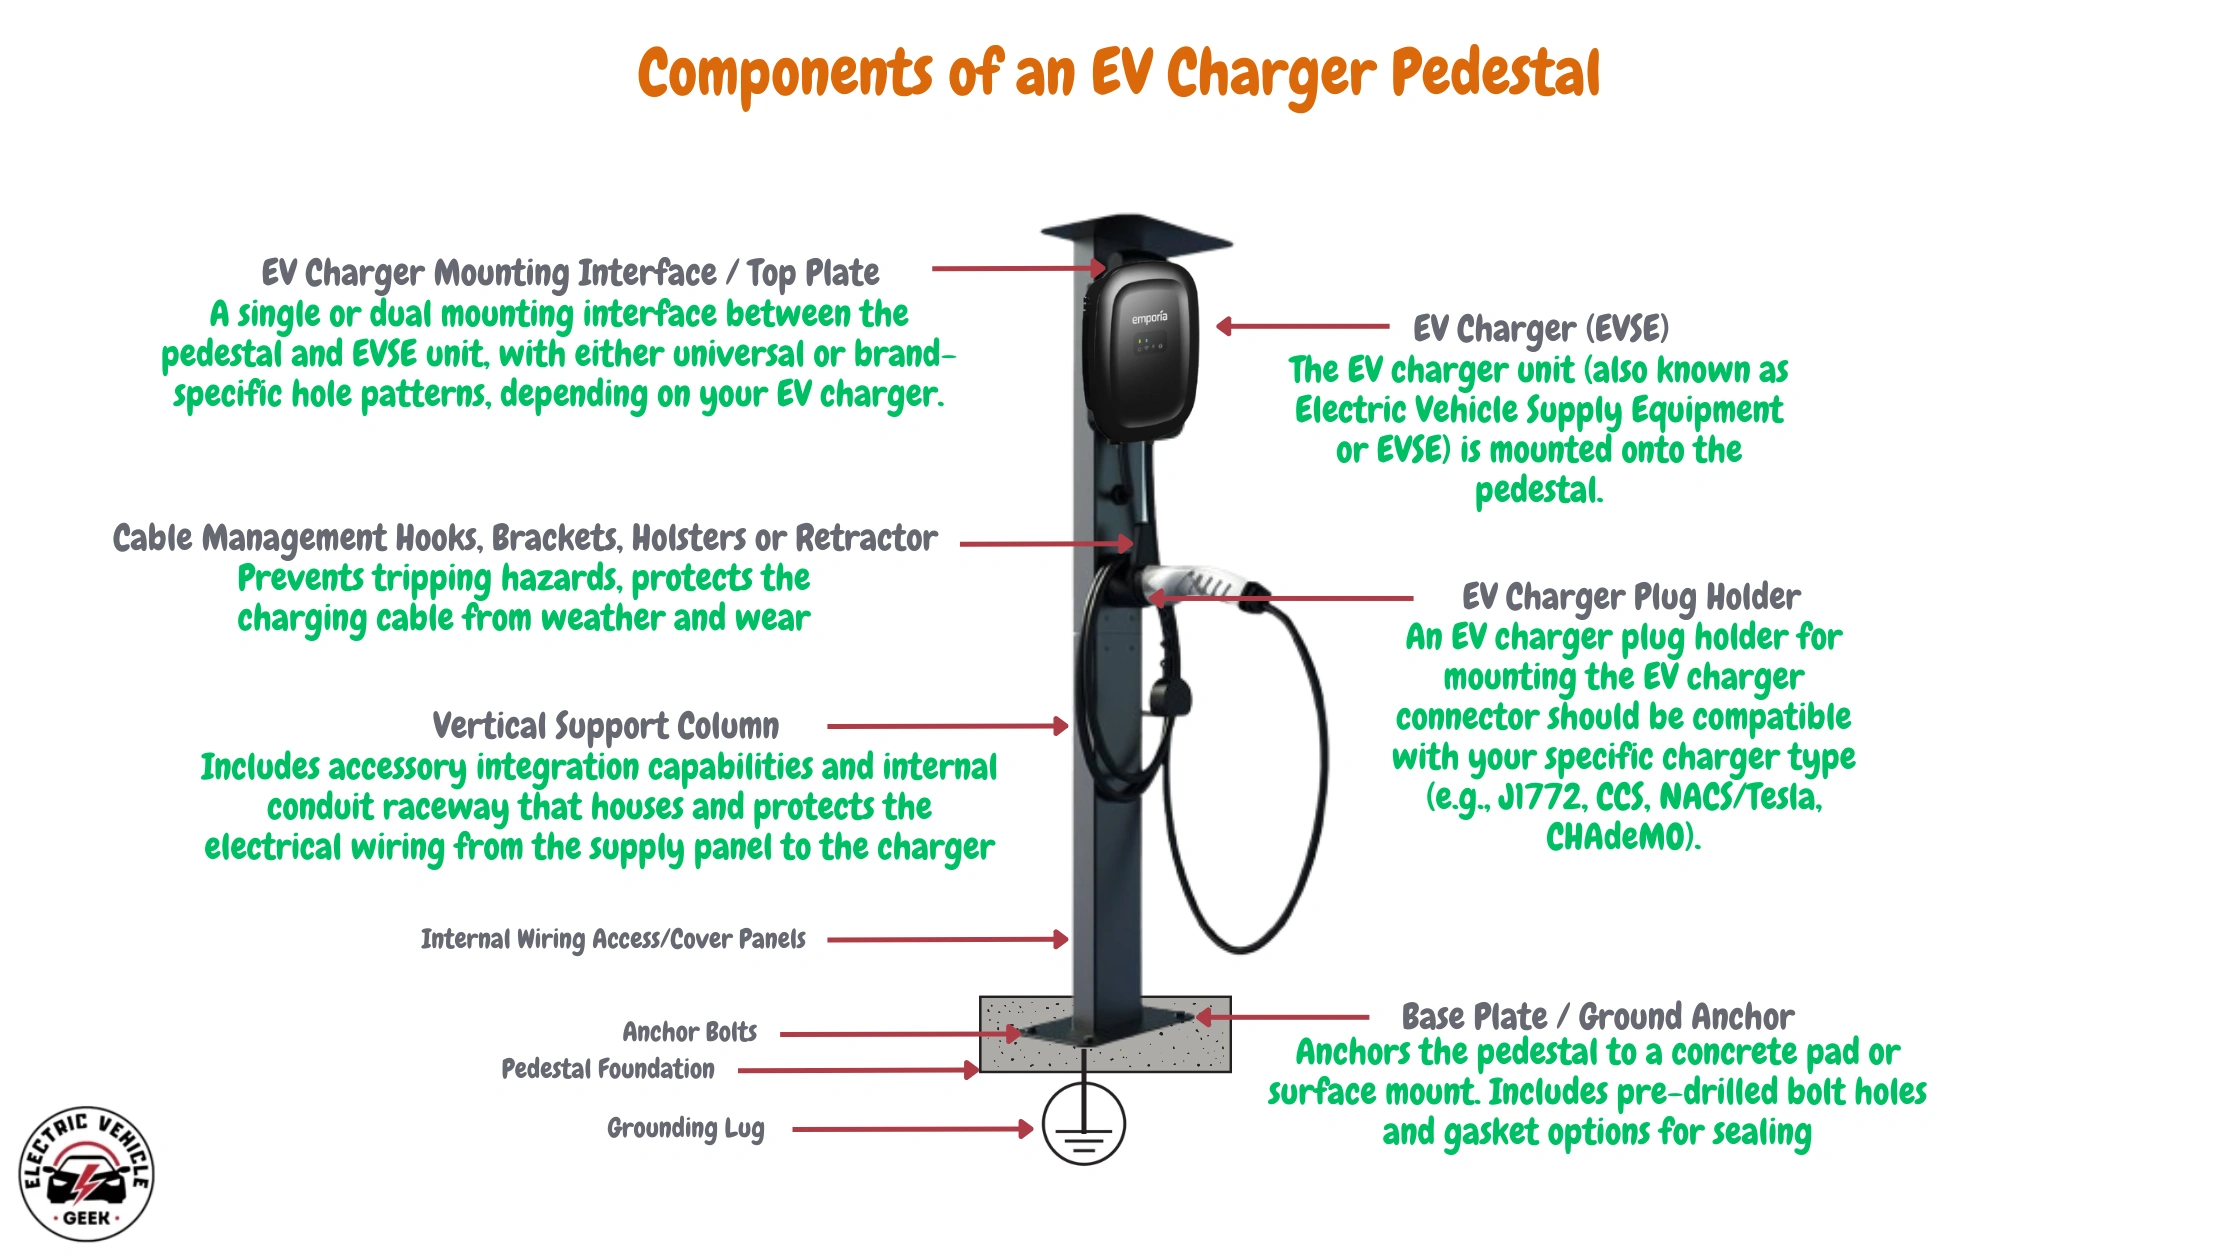
As detailed in our EV Charger Pedestals 101 Guide, pedestals provide an ideal solution when wall mounting isn’t an option. They elevate the charger off the ground, safeguarding both the unit and its accessories from weather and physical impact. Reading our guide will equip you with the knowledge needed to choose the right EV charger pedestal, helping you identify key components to look for in your purchase.
Pedestals provide a clean, professional look while keeping the installation organized. They are perfect for locations like driveways, parking lots, or commercial spaces, where drilling into walls may not be possible or desirable. Hardwired EV charger installations on pedestals are not only more durable but also improve the overall layout of your charging system.
Most pedestals are made from powder-coated steel or aluminum and include pre-drilled mounting plates compatible with specific charger brands or universal mounts. Many also feature integrated cable management systems like hooks or holsters for added convenience and safety.
Tesla EV Charger Pedestals
Branded Tesla EV charger pedestals are designed for seamless compatibility with Tesla EV chargers, featuring structural support, a mounting interface, and pre-drilled holes for easy installation.
BMZX Tesla Charger Pedestal Review
Autel EV Charger Pedestals
Autel EV charger pedestals ensure optimal performance and easy installation, with a design that guarantees a secure fit and reliable operation for Autel EV chargers.
Lectron EV Charger Pedestals
Lectron EV charger pedestals are specifically designed for Lectron EV chargers, providing a secure fit and easy installation for both residential and commercial applications.
Wallbox EV Charger Pedestals
Wallbox EV charger pedestals are designed for efficient installation with Wallbox EV chargers, offering a stable foundation for both residential and commercial use.
Wallbox Pedestal for EV Charger Review
Universal EV Charger Pedestals
For those seeking flexibility, universal EV charger pedestals are compatible with a wide range of top-selling hardwired EV chargers. Designed to meet the demand of multiple charger models, these pedestals come with pre-drilled holes that fit popular brands like Tesla, Autel, Vectron, and Wallbox EV chargers. Offering a versatile and convenient solution, they make it easy to mount your charger securely, regardless of the brand.
VIVO Outdoor EV Charging Stand Review
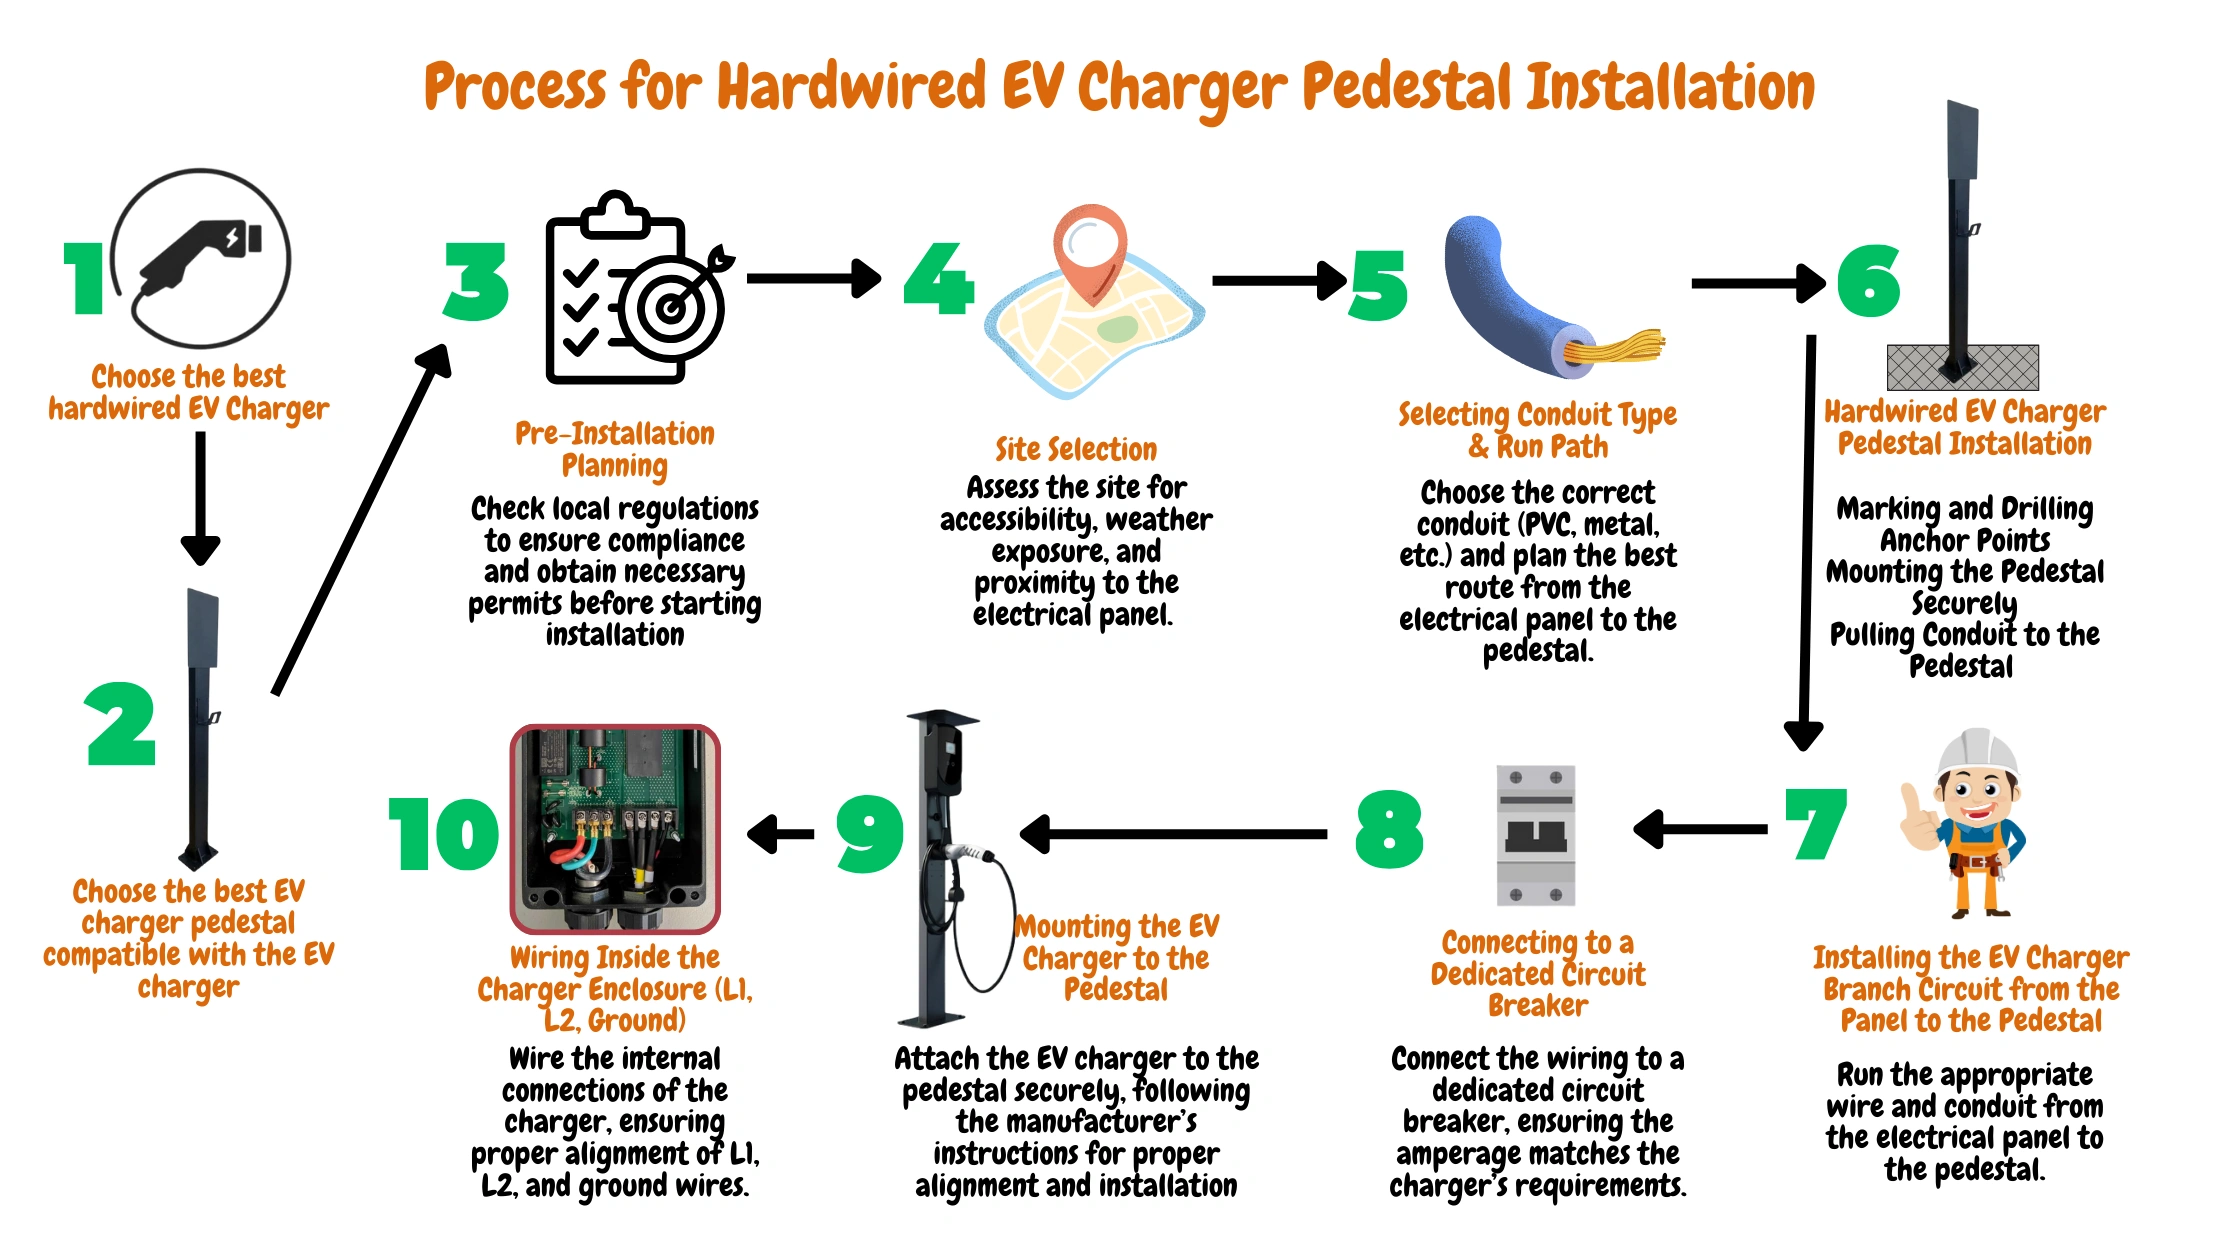
Hardwired EV Charger Pedestal Installation
Now that you’ve identified the best hardwired EV charger for your needs and selected the best EV charger pedestal, it’s time to install the pedestal, mount the charger, and wire it to the electrical panel for a secure and efficient setup.
Pre-Installation Planning
Review Local Electrical Codes & Permit Requirements
Ensure full compliance with local regulations and obtain the necessary permits before installation.
Key regulations to review include Article 625 of the National Electrical Code (NEC), which mandates that EV chargers be installed at least 24 inches above ground level for outdoor stations, and at least 18 inches for indoor installations.
Additionally, Article 635 of the NEC requires cable management solutions for charging cables exceeding 25 feet, with benefits extending even for shorter cables.
Site Selection
Choose a location that is close to the electrical panel to minimize the distance the circuit needs to travel, reducing wire costs and voltage drop.
Ensure the path from the panel to the pedestal is clear of obstructions like trees, sidewalks, or driveways. This will make digging the trench easier and avoid potential damage to underground utilities.
Select a location that allows for easy vehicle access and safe parking. Make sure the site is free from high-traffic areas that could interfere with vehicle charging.
Consider a location that offers some protection from weather extremes. Too much exposure to direct sunlight or moisture could affect the charger’s longevity.
Don’t place the pedestal in areas where future construction or landscaping might require digging up the ground. This will prevent future disruptions and additional costs.
Be aware of local codes, typically requiring trenches to be at least 18 inches deep. Ensure the location you select allows for compliance with these standards.
Hardwired EV Charger Considerations
Before beginning the installation, verify that your hardwired EV charger is compatible with your home’s electrical system. Check the charger’s power requirements and compare them with your home’s electrical capacity. Consider the EV charger’s load requirements, preferred mounting location, and electrical compatibility to avoid potential issues during installation.
For accurate load calculations, refer to our guide on EV charging electrical load assessments.
Make sure the charger suits your energy needs and installation location, whether for residential or commercial use.
Also, review local codes regarding installation heights and wiring. This is especially important for outdoor installations to comply with safety regulations.
Tip: Hardwired EV chargers, typically Level 2 chargers, require high amperage (usually between 40–80A) and robust circuit capabilities. Before installation, ensure your existing electrical circuit can support these high amperage demands. If necessary, consider upgrading your electrical panel to handle the increased load and ensure safe, efficient operation.
Choosing the Right EV Charger Pedestal
Determine whether a branded or universal pedestal best suits your installation needs, ensuring compatibility with the EV charger and confirming the mounting interface is appropriate for the selected unit.
Selecting Conduit Type & Run Path
Decide between underground or surface-mounted conduit based on site conditions, ensuring the chosen path minimizes electrical interference and complies with local codes.
Tools & Materials Needed
EV Charger and Compatible Pedestal
Select an EV charger and EV charger pedestal that are compatible with each other. Ensure the pedestal pre-drilled holes fit your charger, and that your electrical circuit meets the installation requirements of the EV charger.
Conduit (Metal or PVC) and Wiring (THHN/THWN-2)
You’ll need an appropriately rated EV charger installation wire for the branch circuit. We recommend using THHN or THWN-2 copper conductors, rated for 90°C, to ensure safe operation under high amperage loads and full compliance with electrical code requirements.
Because the NEC defines all outdoor and underground conduit runs as wet locations, THWN-2 is typically preferred for its added moisture resistance and long-term durability. THHN, while suitable in dry locations, may also be used in conduits where not exposed to moisture.
For direct burial runs, we recommend using Type USE (Underground Service Entrance) or URD (Underground Residential Distribution) cable. These can be buried directly without conduit or routed through conduit underground, depending on site-specific conditions and code requirements. This setup ensures a robust, code-compliant, and long-lasting installation for outdoor EV charging.
Check out our guides on choosing the right conduit size and choosing the right wire size for your hardwired EV charger pedestal installation. Alternatively, explore our wide range of expertly reviewed EV charger installation wires.
Disconnect Switch, Circuit Breaker, and Junction Box (if Required)
Depending on your EV charger installation, you may need a disconnect switch to safely disconnect your charger from the circuit. One thing you will need is a dedicated circuit breaker, selected to match your charger’s amperage. Additionally, a junction box may be required to organize the wiring.
Learn more about the best EV charger disconnect switches, dedicated EV charger circuit breaker sizing, and EV charger installation junction boxes expertly handpicked for your hardwired EV charger pedestal installation.
Alternatively, check out our EV charger accessories product categories for reviews of various disconnect switches, circuit breakers, and junction boxes.
Anchors, Bolts, and Mounting Template
You will need EV charger pedestal anchors and bolts to securely fasten the pedestal to the ground. We recommend purchasing an EV charger pedestal that comes with anchors, bolts, and mounting accessories for proper placement and alignment.
Multimeter, Level, Conduit Bender, Drill
You will also need a multimeter to check electrical connections, a level to ensure proper alignment of the pedestal, a conduit bender to shape the conduit, and a drill to secure the pedestal.
Explore our curated list of professional EV charger installation tools, recommended for expert installers. Click here to view the full list.
Hardwired EV Charger Pedestal Installation
Now that you have the hardwired EV charger, EV charger installation accessories like the EV charger pedestal, and the necessary EV charger installation tools, it’s time to begin installing the EV charger pedestal.
Here are the step-by-step instructions for installing a hardwired EV charger pedestal
Marking and Drilling Anchor Points
Before securing the pedestal, mark the locations for the anchor points. Measure and verify that the pedestal is correctly aligned and positioned. Once marked, use a drill to create holes at the marked spots. Ensure the holes are the correct size to fit the anchors and bolts. Drilling these anchor points properly is essential for the stability and safety of the pedestal installation.
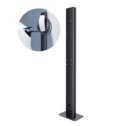
Mounting the Pedestal Securely
Start by selecting a stable, level surface for mounting the EV charger pedestal. We recommend using a precast concrete block or creating a custom block with the following dimensions:
- Length: 600 mm
- Width: 600 mm
- Height: 400 mm
This size provides a stable foundation, ensuring the pedestal can support the charger’s weight and withstand outdoor conditions.
For outdoor installations, concrete blocks offer added stability. Check the manufacturer’s specifications for the preferred block size, as the pedestal base often has pre-drilled holes and anchor bolts for compatibility.
Follow the manufacturer’s instructions for anchor placement and bolt sizes. Use durable anchors and bolts to secure the pedestal and prevent shifting over time. Ensure the pedestal is properly aligned to guarantee safe and reliable operation.
Pulling Conduit to the Pedestal (Underground or Wall-Mounted)
Decide on the best route for the conduit. For underground installations, dig a trench at least 18 inches deep to bury the conduit. Follow local codes for depth and conduit type (PVC or metal). The conduit should be the correct size to fit the wiring and avoid damage. Use clamps to secure the conduit in place.
Installing the EV Charger Branch Circuit from the Panel to the Pedestal
Now that the EV charger pedestal is installed, begin hardwiring the EV charger. Run a dedicated branch circuit from the electrical panel to the pedestal location.
This stage is crucial for selecting the correct conduit size, wire size, and circuit breaker to ensure a safe and reliable hardwired EV charger pedestal installation.
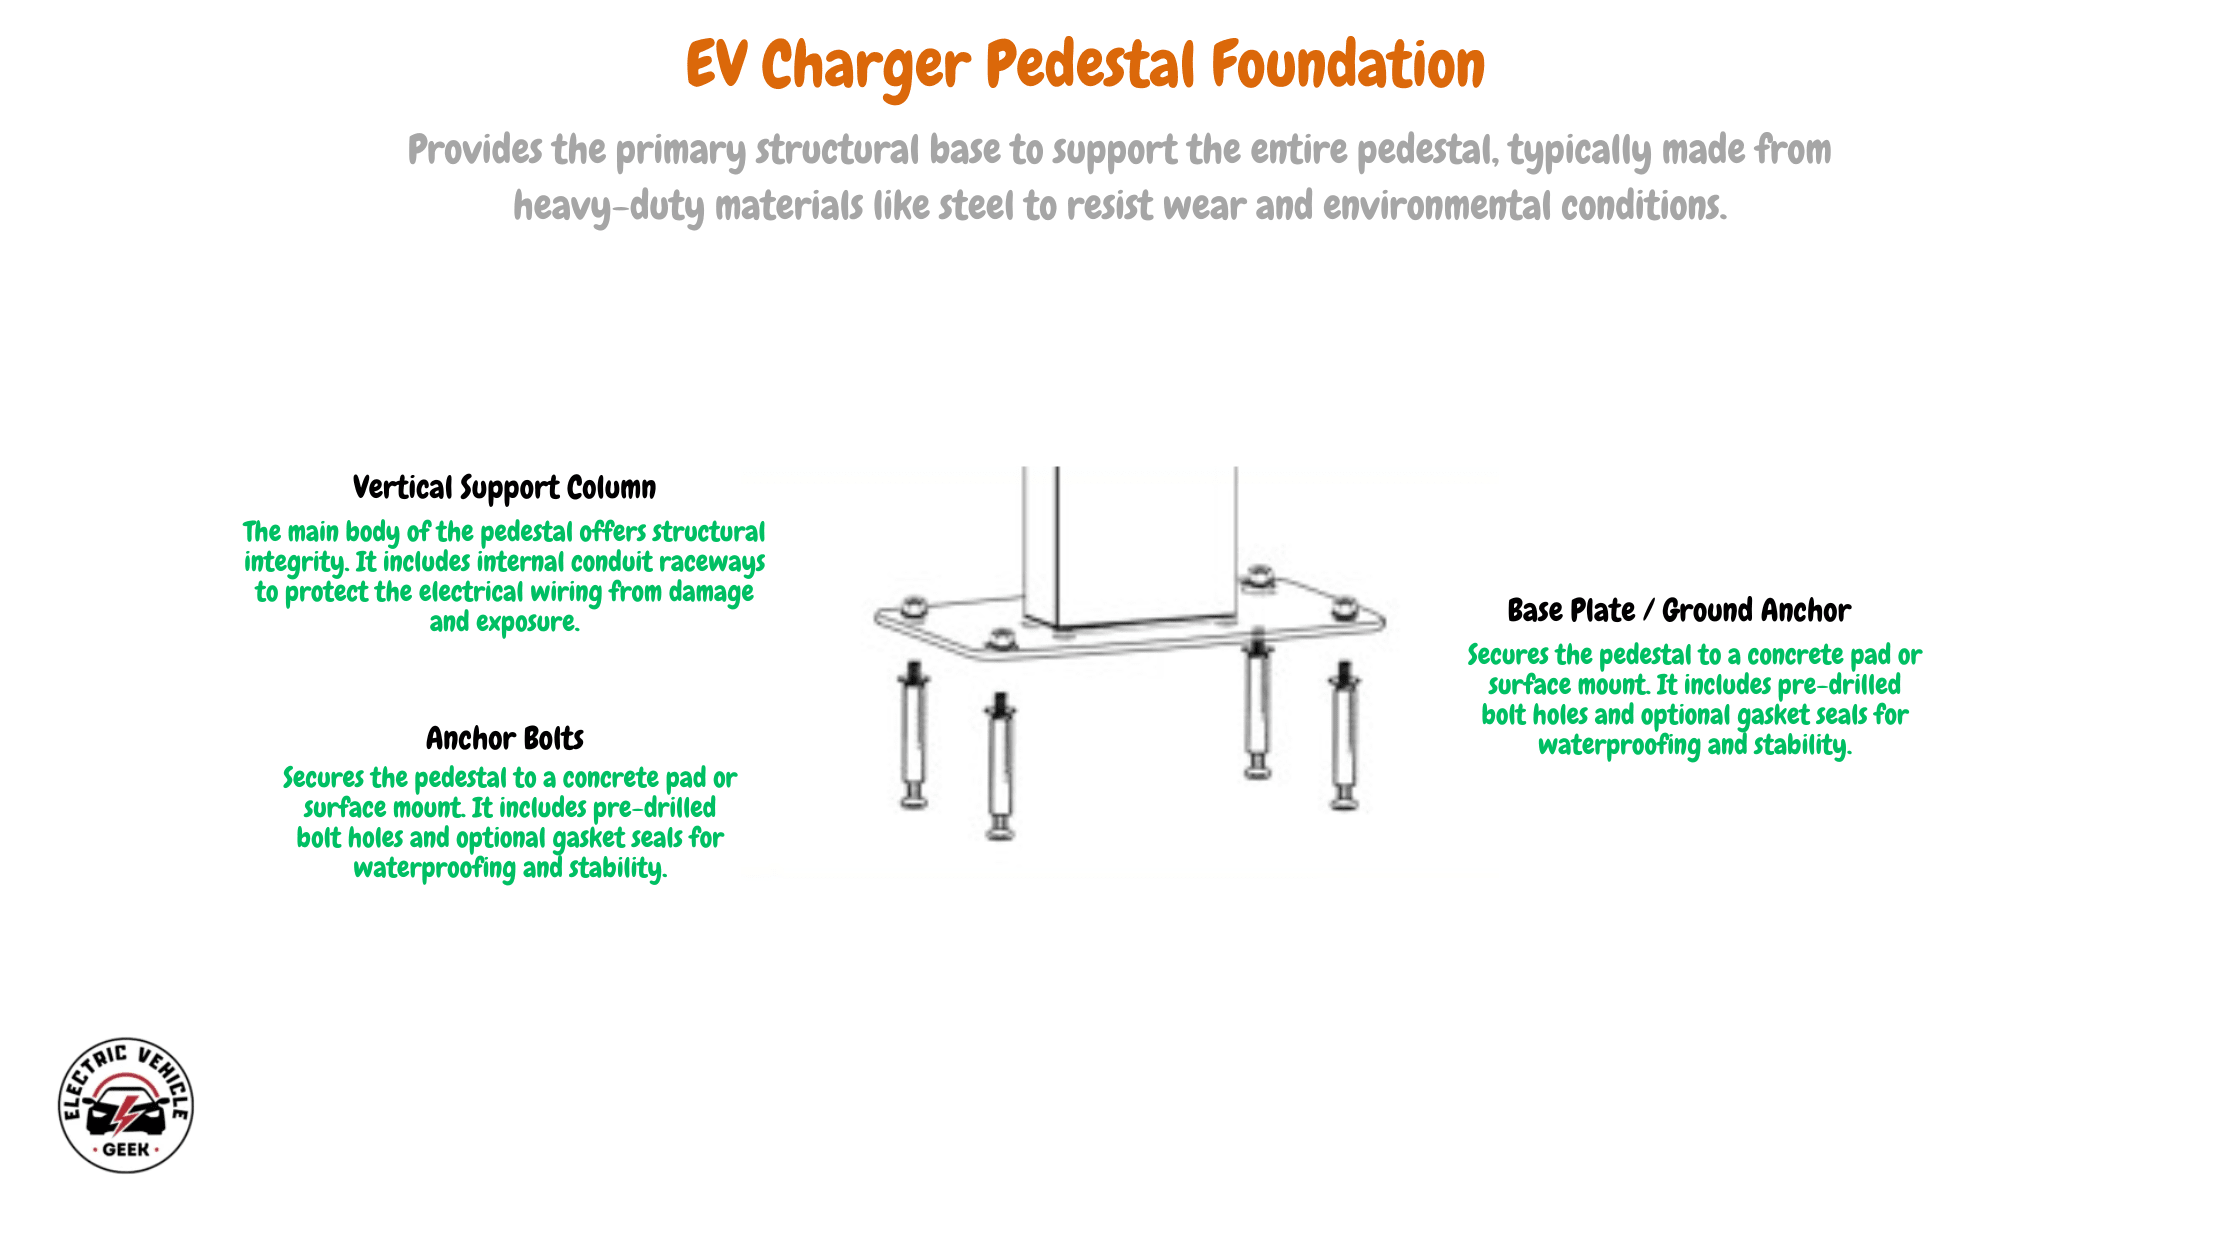
Running Wire from the Panel to the Pedestal
The diagram below illustrates the circuit wiring for a hardwired EV charger pedestal. It shows the wiring running from the electrical panel to the EV charger pedestal, with the branch circuit connected to a dedicated circuit breaker. The wires are protected by an underground conduit, entering the pedestal through its foundation, running up the vertical column, and terminating at the hardwired EV charger’s terminal block.
When running the wire from the electrical panel to the pedestal, it’s important to consider the wire length to avoid voltage drops. Long wire runs can cause a voltage drop, reducing the efficiency of the EV charger and potentially causing damage. To minimize voltage drop, use the shortest possible route while ensuring the wire is long enough to reach the pedestal without strain.
Choosing the right wire gauge is crucial for optimal EV charger performance. For a 40A EV charger, we recommend using 6AWG copper wire, and for an 80A EV charger, we recommend using 2AWG copper wire.
Copper wires are preferred for EV charger installations because they have better conductivity, which helps reduce voltage loss over long distances. Thicker wires help maintain efficient power delivery and minimize heat buildup. Always follow local codes to select the appropriate wire size based on the distance and electrical load, ensuring safe and effective charging performance.
Check out our guides on choosing the right conduit size and choosing the right wire size for your hardwired EV charger pedestal installation. Alternatively, explore our wide range of expertly reviewed EV charger installation wires.
Hardwired EV Charger Pedestal Earthing/Grounding
When running the wire from the electrical panel to the pedestal, proper EV charger earthing is crucial for safety. Earthing ensures any fault current flows safely to the ground, preventing electrical hazards.

Source earthing connects the electrical panel to the earth, providing a safe path for electricity. For EV charger installations, the Protective Multiple Earth (PME) system adds multiple earth points, enhancing safety.
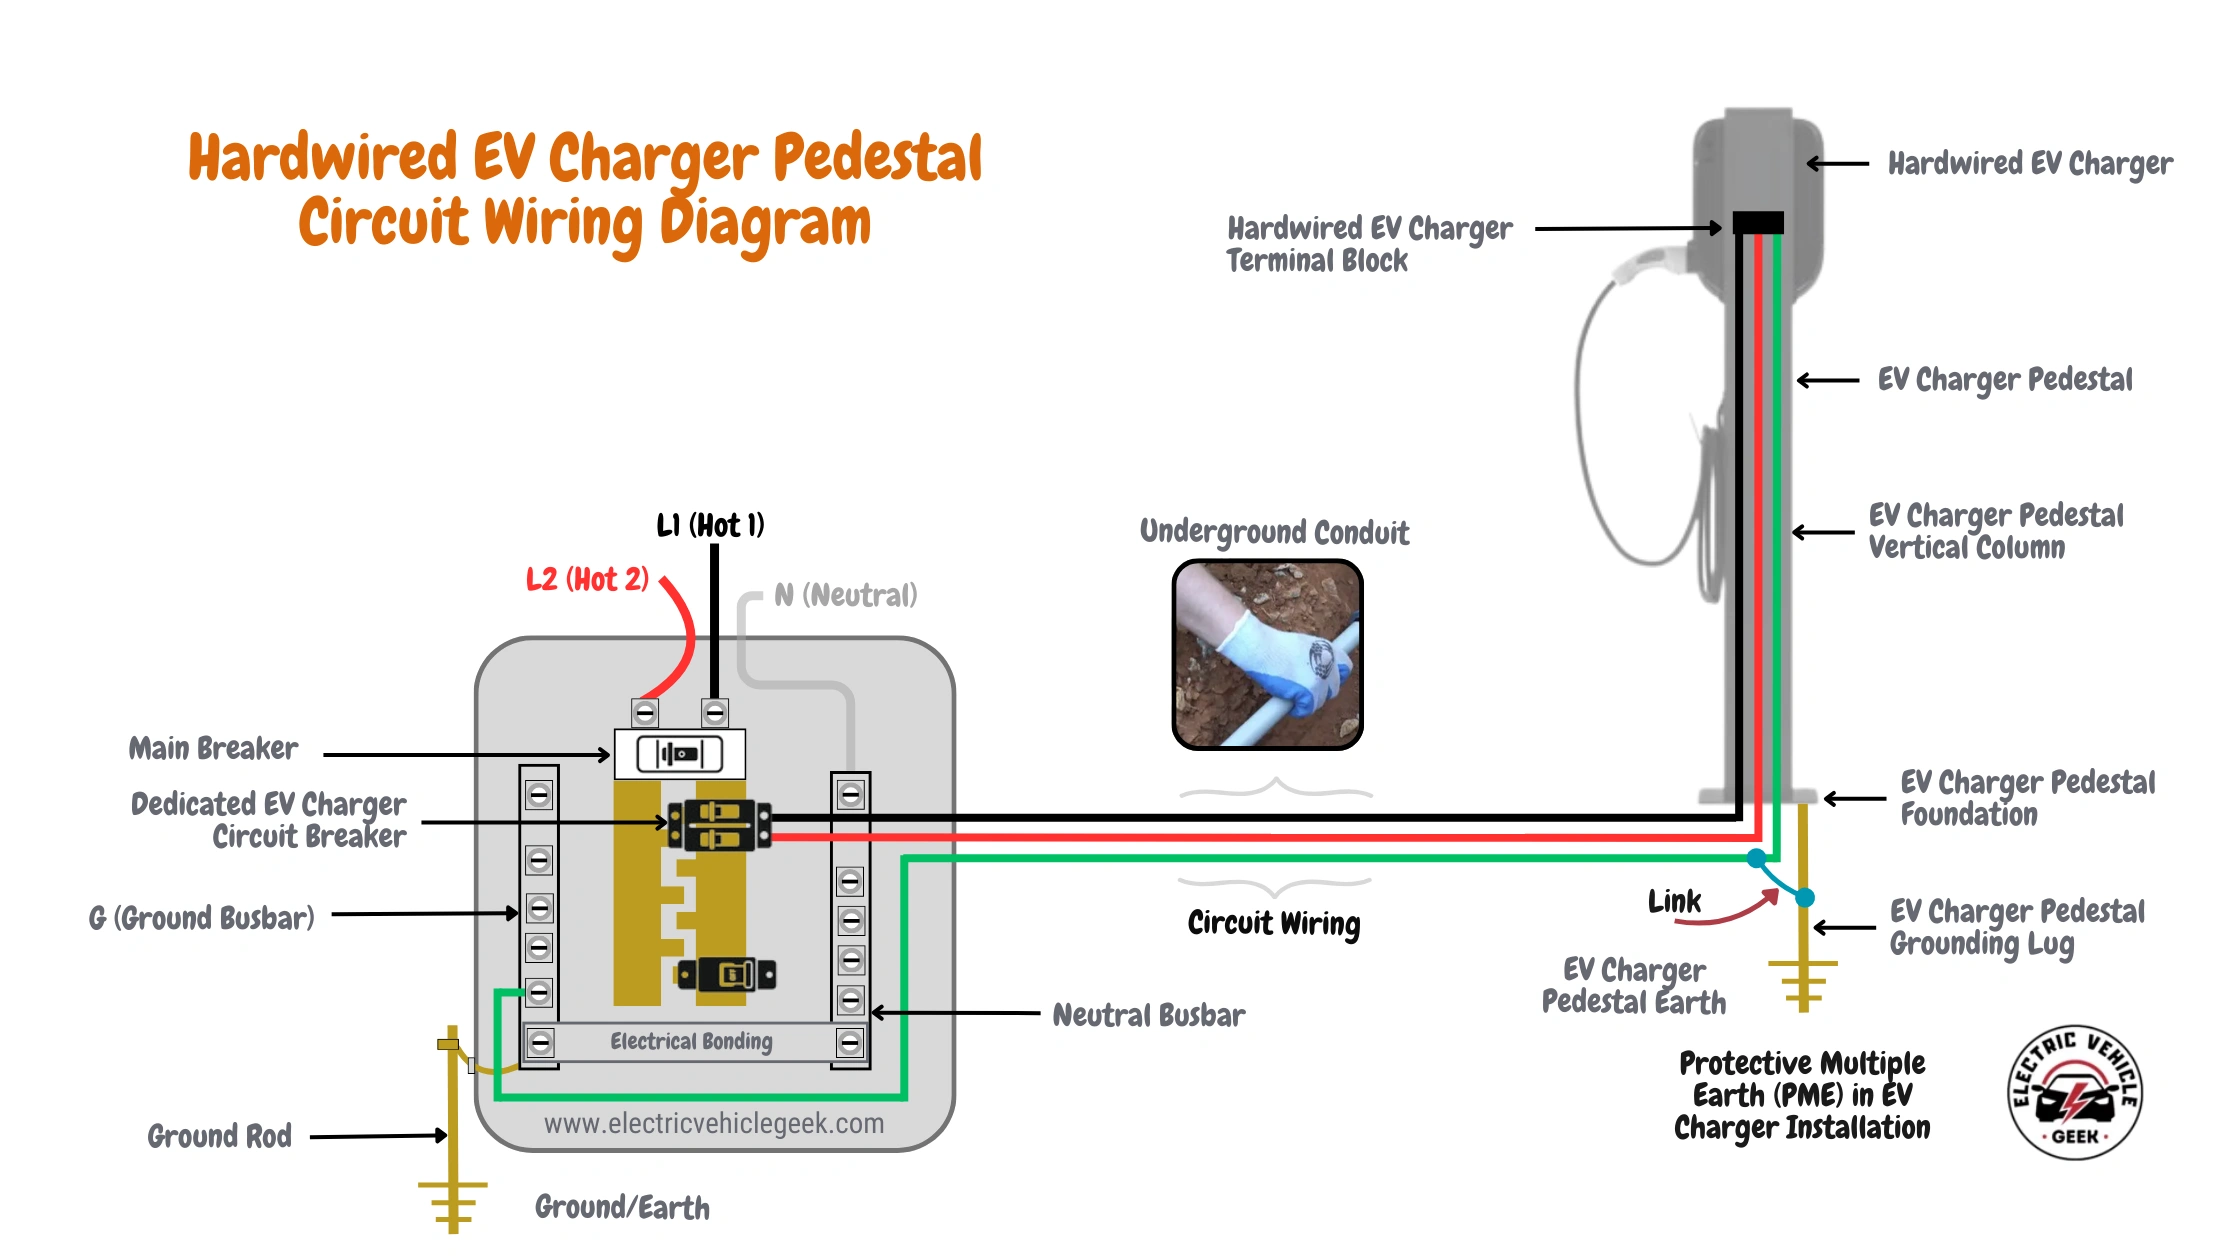
Always ensure that the EV charger pedestal and all metallic components involved in the installation are properly grounded. This includes bonding the EV charger’s circuit ground to all metal parts such as junction boxes, metal pedestals, and lock boxes, in accordance with local electrical codes and safety standards.
Connecting to a Dedicated Circuit Breaker (240V, 40A–60A Depending on Unit)
Connect the wire to a dedicated circuit breaker designed for your EV charger. For most hardwired EV chargers, use a 240V circuit breaker with an amperage rating tailored to the charger’s power requirements—typically 50A for a 40A charger and 100A for an 80A charger.
Verify that the circuit breaker is compatible with the charger’s amperage and voltage specifications to ensure safe and efficient operation. For detailed compatibility guidelines, refer to our comprehensive list of recommended dedicated EV charger circuit breakers’ amperage based on your EV charger’s amperage and power ratings.
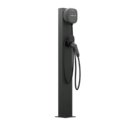
Mounting the EV Charger to the Pedestal
Secure the EV charger to the pedestal using the provided mounting bracket or adapter plate. Align the mounting holes on the charger with the holes on the pedestal.
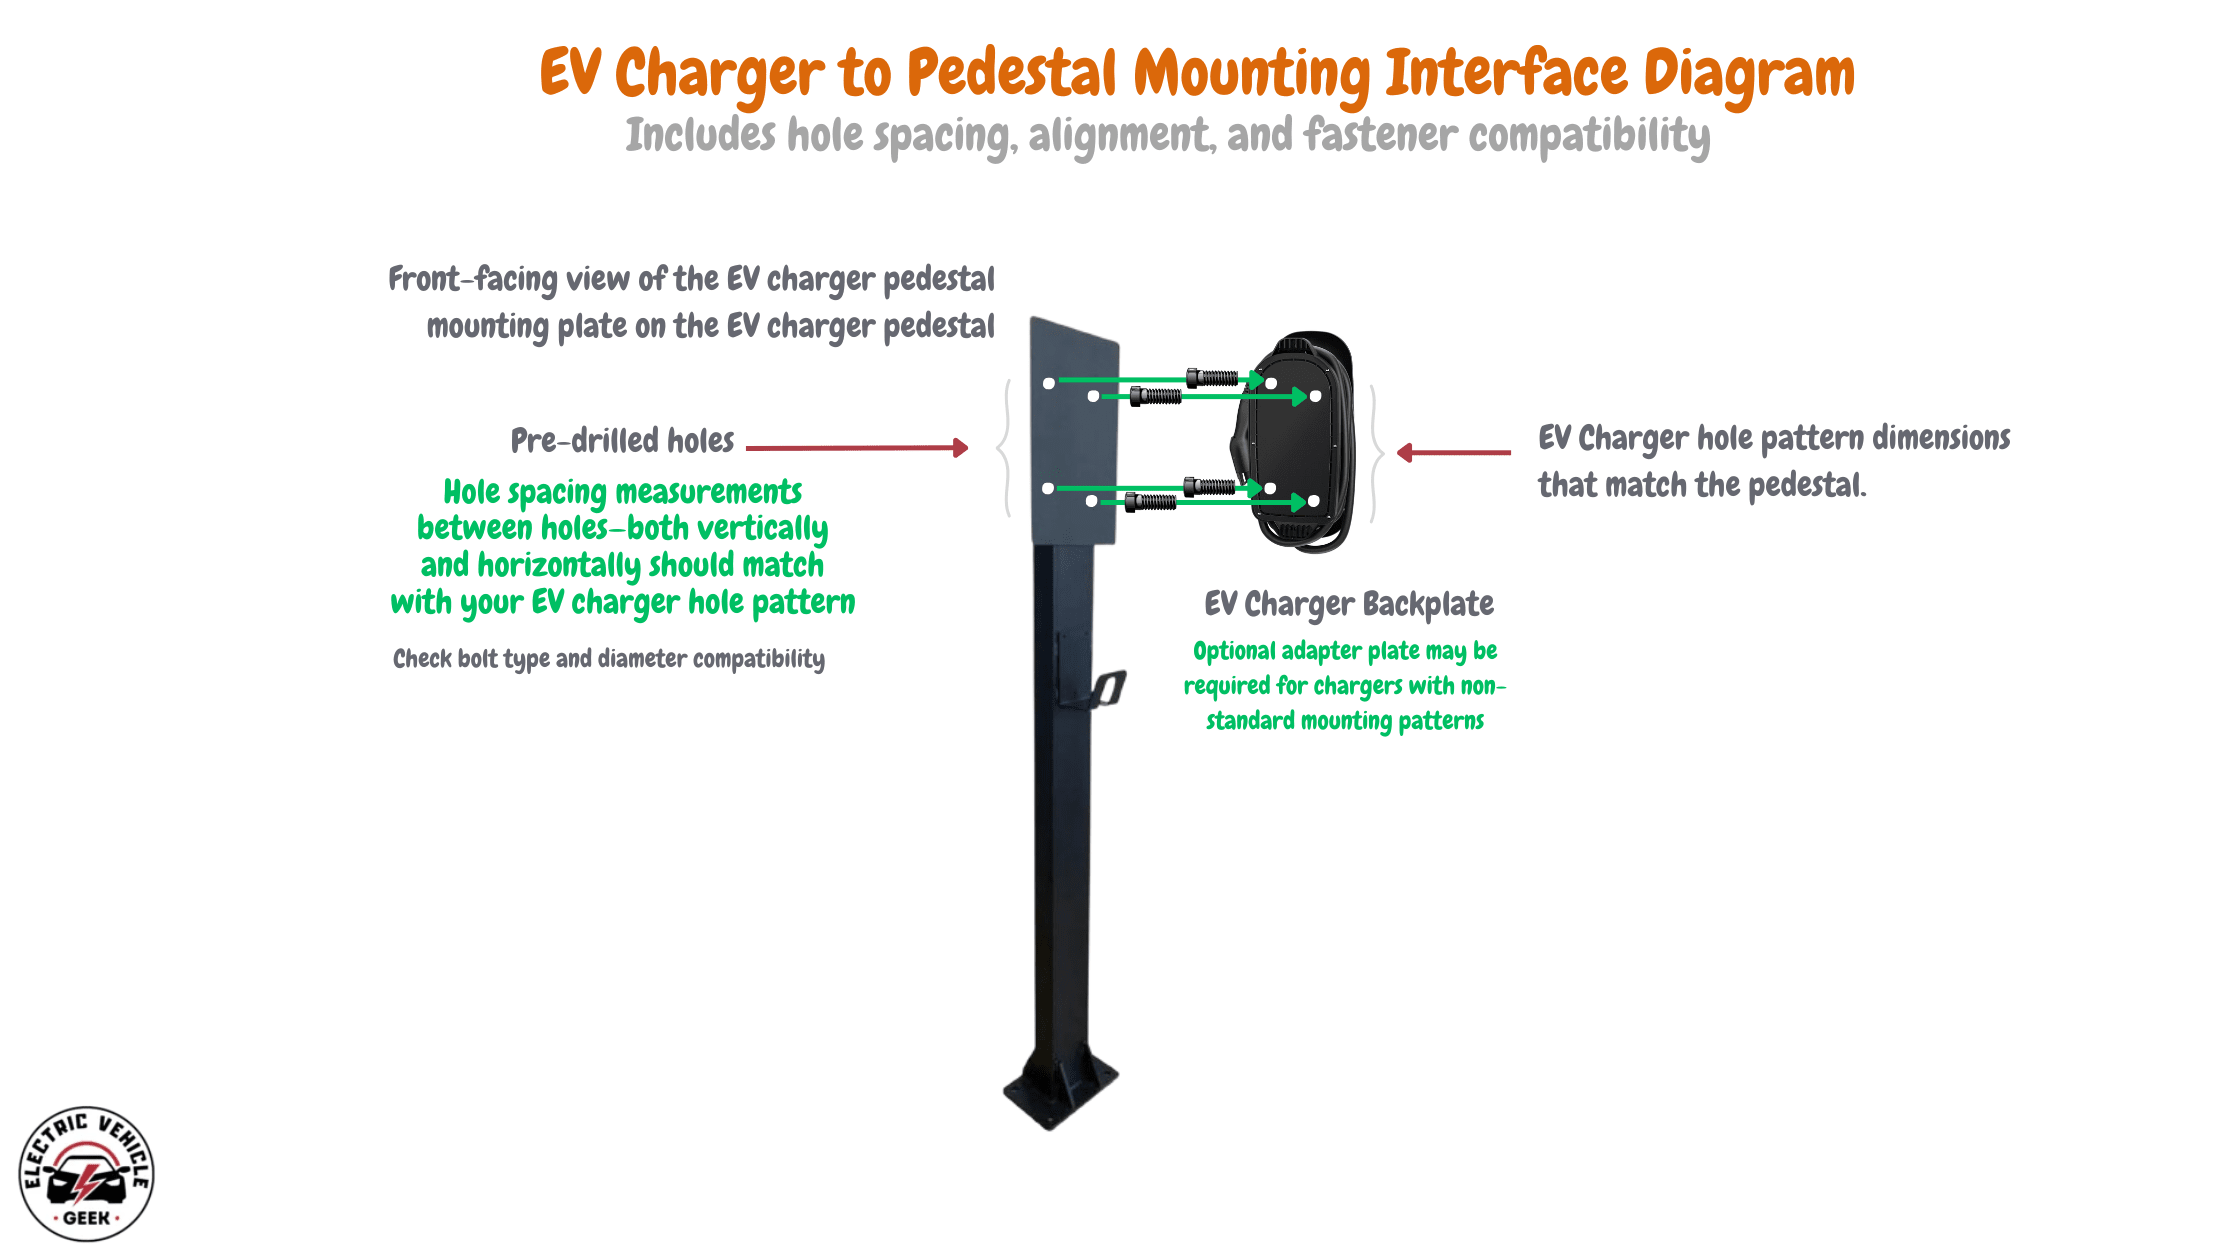
Use the manufacturer’s recommended bolts or screws to fasten the charger. Tighten the hardware evenly to prevent stress on the mounting plate.
Make sure the charger is level and stable before proceeding with wiring. A secure mount prevents movement, protects internal wiring, and ensures long-term reliability.
Wiring Inside the Charger Enclosure (L1, L2, Ground)
Inside the charger enclosure, connect the L1 and L2 wires to their respective terminals. Attach the ground wire to the grounding terminal. Verify that all wires are securely fastened and correctly placed to avoid faults.
Securing Connections and Performing Continuity Tests
Tighten all connections inside the charger to prevent loose wiring. Use a multimeter to perform continuity tests on all connections. This step ensures the wiring is intact and there are no open circuits before powering the system.
Check out our guide on hardwired EV charger installation for a detailed guide on how to install a hardwired EV charger
Weatherproofing the hardwired EV Charger Pedestal
Protect all exposed electrical components from the elements. Use weather-resistant conduit fittings and seal any openings around the pedestal base to prevent water and debris from entering. Ensure all electrical connections and conduits are properly sealed to maintain safety and functionality.
Proper weatherproofing extends the life of your hardwired EV charger pedestal installation and ensures reliable performance in outdoor conditions.
Final Setup and Inspection
Once the EV charger is hardwired and mounted on the pedestal, it’s time to complete the final setup and conduct a thorough inspection.
Test Voltage and Charger Functionality
Use a multimeter to confirm the correct voltage at the charger terminals. Power on the EV charger and verify that the display and indicators work correctly. Plug in an EV to ensure the charger starts and maintains charging.
Clean Up and Weather Seal
Remove debris around the pedestal. Apply weather-sealing material around conduit entries and cable ports to prevent water entry. Use approved sealants to protect connections.
Label Circuits and Pass Inspection
Label the EV charger circuit clearly at the main panel. If required, schedule an inspection with the local authority. Make sure your installation complies with local electrical codes
Hardwired EV Charger Pedestal Installation Maintenance Tips
Inspect and Clean the Charger and Pedestal
Wipe down the pedestal and charger with a dry cloth. Check for visible wear, corrosion, or damage. Clean vents and display screens to maintain readability and cooling.
Check Cable Strain and Anchor Points
Inspect the charging cable for wear or stress marks. Make sure the cable holder or hook prevents sagging. Re-tighten pedestal bolts and anchor points annually to ensure continued stability.
Conclusion
A hardwired EV charger pedestal installation offers strong protection, stable power delivery, and secure mounting. It reduces the risk of theft, improves connection reliability, and supports long-term performance in both residential and commercial spaces.
Installers should select the correct hardwired EV charger installation wire size, conduit size, and dedicated EV charger circuit breaker based on the hardwired EV charger’s specifications and local code requirements. Hardwired EV charger grounding and weatherproofing are essential for safety and durability.
Always hire a licensed electrician or a certified EV charger installer. This ensures code compliance and protects your system from electrical hazards. Certified EV charger installation may also be required for warranty claims.
For more help, visit our EV charging guides, hardwired EV charger reviews, and EV charger accessories reviews.

James Ndungu is a certified EV charger installer with over five years of experience in EVSE selection, permitting, and installation. He holds advanced credentials, including certification from the Electric Vehicle Infrastructure Training Program (EVITP) and specialized training in EV charging equipment and installation, as well as diplomas in EV Technology and Engineering Fundamentals of EVs. Since 2021, James has tested dozens of EV chargers and accessories, sharing expert insights into the latest EV charging technologies.